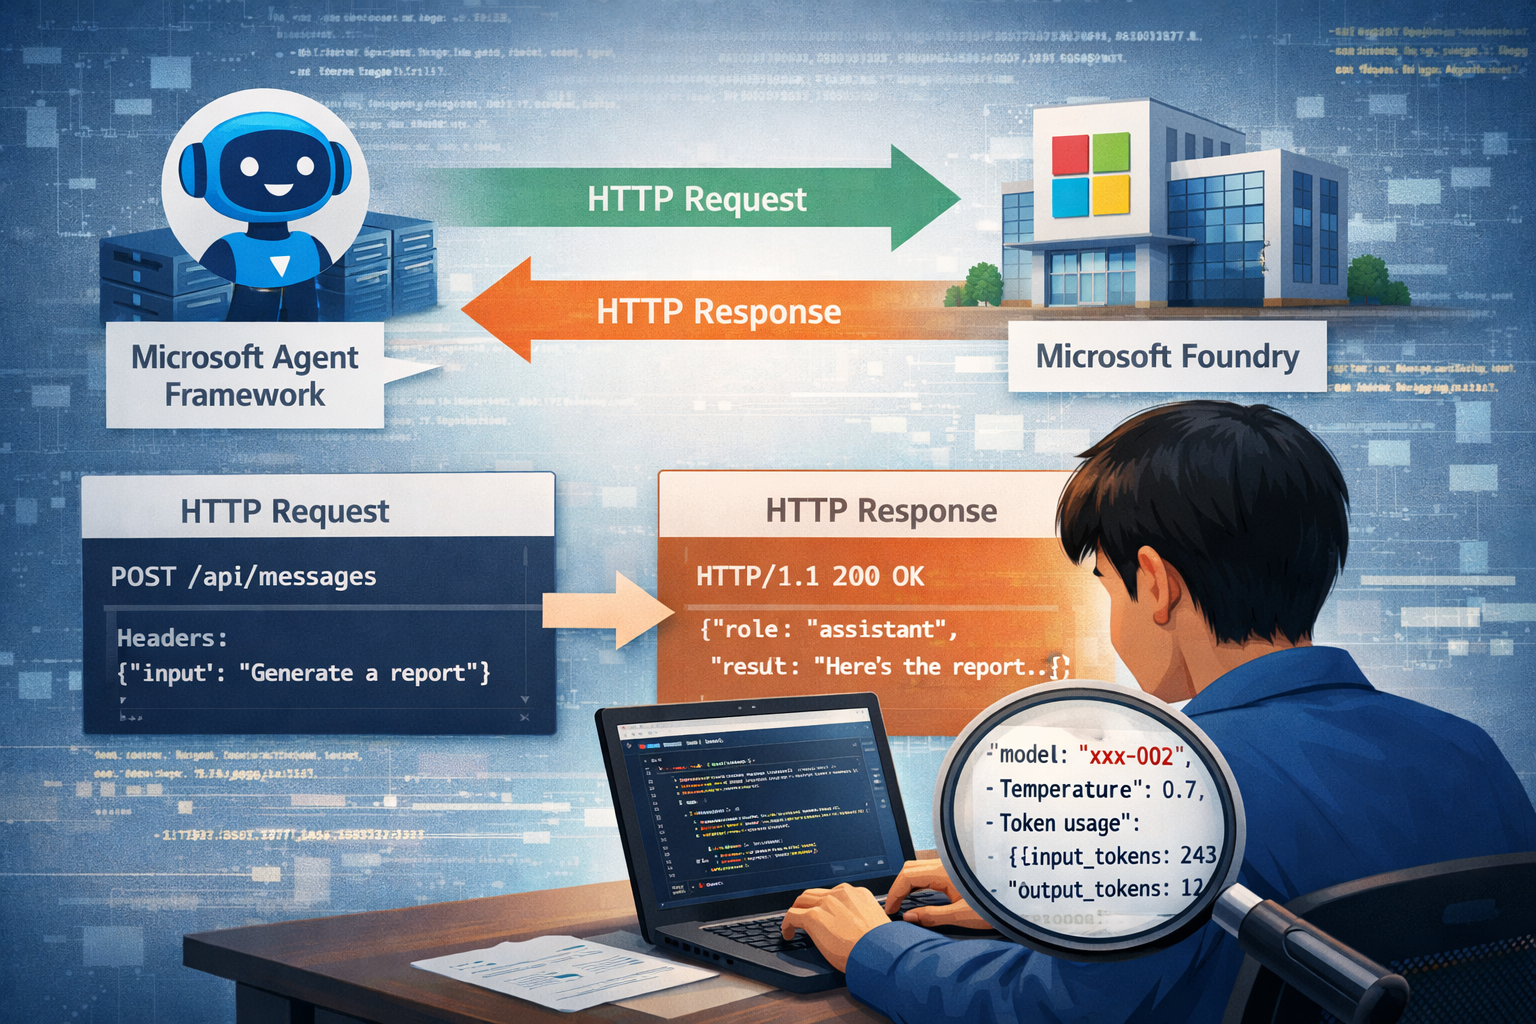
在使用 Microsoft Agent Framework 呼叫 AI Provider 的時候,基本上都是透過 HTTP 的方式呼叫,開發過程中如果想要查看呼叫的 HTTP 詳細資訊,例如 URL、Header、Body 等等,這篇文章將分享如何在 Microsoft Agent Framework 中查看呼叫 HTTP 的詳細資訊。
介紹 Pipeline 在 Microsoft Agent Framework 底層,會使用 Pipeline 的設計模式來處理請求與回應的流程,Pipeline 可以做為攔截與擴充請求處理流程的機制,作用類似 HTTP middleware,其核心位置在「Agent 執行流程的中間層」,負責在請求進入模型或工具前後插入控制邏輯,也就是說我們可以在 request / response 前後插入邏輯。
我們可以透過實作 Pipeline 來從底層中達到以下目的(但大多時候你不需要自己做這些事):
請求攔截與修改
調整 prompt、context、metadata
注入系統訊息(system prompt augmentation)
動態加上安全限制或規則
回應後處理
過濾輸出內容
格式轉換(例如結構化 JSON)
敏感資訊遮罩
橫切關注(cross-cutting concerns)
logging / tracing
retry / timeout 控制
metrics 收集
安全與治理
prompt injection 防護
輸出內容審查(content filtering)
policy-based decision(例如是否允許呼叫 tool)
這裡順帶一提,在 Microsoft Agent Framework 中有 Middleware 的設計,概念上和 Pipeline 都是處理流程的控制機制,但作用層級與設計責任截然不同。
兩者的主要差異在於:
Middleware
屬於「Agent 執行流程」層
操作的是高階語意(conversation、tool call、agent state)
面向「AI 行為流程」
Pipeline
屬於「底層請求處理」層
操作的是請求/回應本身(prompt、payload、headers、metadata)
面向「技術執行管線」
簡單說,Middleware 用來控制 Agent 要做什麼,Pipeline 用來控制這件事底層如何被執行。
實作 HttpTrafficLoggingPolicy 有了上面的概念,我們就可以實作一個 Pipeline 來攔截 Microsoft Agent Framework 底層的 HTTP 請求與回應,並將詳細資訊輸出到 Console 上,這樣在開發過程中就可以清楚看到每一次呼叫 AI Provider 的 HTTP 詳細資訊。
1
2
3
4
5
6
7
8
9
10
11
12
13
14
15
16
17
18
19
20
21
22
23
24
25
26
27
28
29
30
31
32
33
34
35
36
37
38
39
40
41
42
43
44
45
46
47
48
49
50
using System.ClientModel.Primitives;public class HttpTrafficLoggingPolicy : PipelinePolicy { public override void Process (PipelineMessage message, IReadOnlyList<PipelinePolicy> pipeline, int currentIndex ) { LogRequest(message); ProcessNext(message, pipeline, currentIndex); LogResponse(message); } public override async ValueTask ProcessAsync (PipelineMessage message, IReadOnlyList<PipelinePolicy> pipeline, int currentIndex ) { LogRequest(message); await ProcessNextAsync(message, pipeline, currentIndex); LogResponse(message); } private static void LogRequest (PipelineMessage message ) { Console.WriteLine($"\x1b[34m[HTTP Request]\x1b[0m" ); Console.WriteLine($"\x1b[90m{message.Request.Method} {message.Request.Uri} \x1b[0m" ); Console.WriteLine($"\x1b[90m{string .Join('\n' , message.Request.Headers.Select(p => $"{p.Key} : {p.Value} " ))} \x1b[0m\n" ); if (message.Request.Content != null ) { using var stream = new MemoryStream(); message.Request.Content.WriteTo(stream, default ); stream.Position = 0 ; using var reader = new StreamReader(stream); var content = reader.ReadToEnd(); Console.WriteLine($"\x1b[90m{content} \x1b[0m\n" ); } } private static void LogResponse (PipelineMessage message ) { if (message.Response != null ) { message.Response.BufferContent(); Console.WriteLine($"\x1b[32m[HTTP Response]\x1b[0m" ); Console.WriteLine($"\x1b[90m{message.Response.Status} {message.Response.ReasonPhrase} \x1b[0m" ); Console.WriteLine($"\x1b[90m{string .Join('\n' , message.Request.Headers.Where(p => p.Key != "Authorization" ).Select(p => $"{p.Key} : {p.Value} " ))} \x1b[0m\n" ); if (message.Response.Content != null ) { var content = message.Response.Content.ToString(); Console.WriteLine($"\x1b[90m{content} \x1b[0m\n" ); } } } }
使用的方式也非常簡單,只需要在建構 Agent 的時候將這個我們實作的 PipelinePolicy 加入到 AIProjectClientOptions 中,並設定成 PipelinePosition.PerCall,讓每次呼叫時都會調用這個 Policy 即可:
1
2
3
4
5
6
7
8
9
var endpoint = new Uri("<your-foundry-project-endpoint>" );var credential = new DefaultAzureCredential();var clientOptions = new AIProjectClientOptions();clientOptions.AddPolicy(new HttpTrafficLoggingPolicy(), PipelinePosition.PerCall); var agent = new AIProjectClient(endpoint, credential, clientOptions) .AsAIAgent(new AgentReference("<your-default-agent>" )); Console.WriteLine(await agent.RunAsync("寫2句話的故事." ));
效果如下圖:
後記 在探索的時候,我背後的模型是用 model-router,這個模型會根據 prompt 的內容來決定要呼叫哪一個 AI Model,從上圖的 HTTP Response 中可以發現,實際上調用的模型是 deepseek-v3.2 並採用中等層度的思考。
這樣的實作可以讓我們在開發過程中,清楚知道每一次呼叫的詳細資訊,對於除錯與優化都非常有幫助。
參考資料: